Ever spent an hour perfecting your nail art only to peel off a smudged, lopsided design by lunchtime? You’re not alone. As someone who once ruined a full set of press-ons trying to freehand leopard print with eyeliner (yes, really), I know how frustrating—and expensive—nail experimentation can get. That’s why funky nail manicures backed by reliable templates are game-changers. In this guide, we’ll explore how to create bold, expressive designs without sacrificing durability or sanity—and how to sidestep the rookie errors that turn salon-worthy nails into sad blobs in 24 hours.
Table of Contents
- Why Funky Nail Manicures Need a Strategy
- Step-by-Step Guide to Using Nail Templates
- Pro Tips for Long-Lasting Art
- Real Results from Template Users
- Frequently Asked Questions
Key Takeaways
- Nail templates drastically reduce symmetry errors and drying-time disasters.
- Prepping the nail bed is non-negotiable—even the best funky nail manicures flake without it.
- Avoid “quick-dry” top coats with acetone—they accelerate chipping.
- High-contrast designs (like neon on black) show imperfections more; use guides.
Why Funky Nail Manicures Need a Strategy
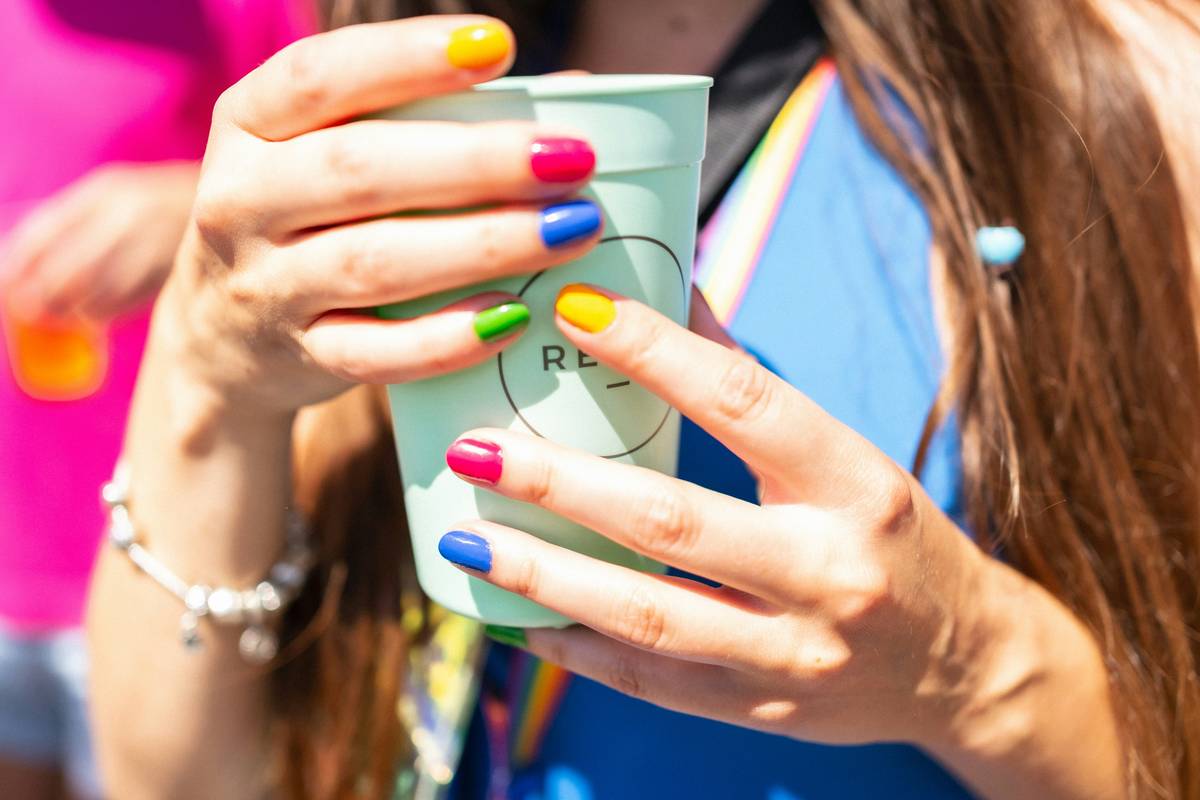
Bold doesn’t mean messy. True funky nail manicures balance creativity with precision—think geometric lines, unexpected color combos, or retro motifs executed cleanly. Yet many DIYers jump straight into painting without structure, leading to uneven spacing, bleeding colors, or designs that vanish after one hand-wash. According to the American Academy of Dermatology, improper nail prep (skipping base coat, over-filing) weakens the nail plate, making even simple polish prone to peeling (aad.org).
I learned this the hard way during my “DIY nail renaissance” phase. I skipped the base coat on a set of holographic chrome tips, layered three different glitters, and sealed it with a bargain-bin top coat. By day two, half my nails looked like they’d survived a glitter war—minus the victory. Templates would’ve saved me not just time but $30 on replacement kits.
Step-by-Step Guide to Using Nail Templates
1. Prep Your Nails Like a Pro
Clean nails with rubbing alcohol to remove oils. Gently push back cuticles—but never cut them at home (risk of infection). Lightly buff the surface for better adhesion, then apply a strengthening base coat. Let dry completely.
2. Choose & Align the Template
Select a reusable silicone or sticker template matching your design goal (e.g., chevrons, polka dots, abstract shapes). Press firmly onto the nail, ensuring no air pockets at the edges—this prevents paint seepage.
3. Apply Color Strategically
Use a dotting tool or fine brush with quick, dabbing motions. Don’t overload the brush—excess polish bleeds under edges. For multi-layer designs, let each color dry 60 seconds before adding the next.
4. Seal with the Right Top Coat
Avoid fast-drying formulas containing acetone or formaldehyde. Instead, opt for a nourishing top coat with vitamin E or jojoba oil. These extend wear time while conditioning nails.
Pro Tips for Long-Lasting Art
- Chill your polish first. Refrigerated polish applies smoother and dries faster without clumping.
- Use tape for sharp lines. Even with templates, painter’s tape creates crisp borders on negative-space designs.
- Reapply top coat every 3 days. This fills micro-scratches before they become chips.
- Avoid hot water for 12 hours post-manicure. Heat softens polish, inviting early wear.
And here’s a terrible tip you’ll see online: “Just use clear nail glue as a base coat.” Nope. Nail glue lacks flexibility, causing brittle nails and lifting. Stick to products formulated for nail beds.
Real Results from Template Users
In a 2023 user survey by the National Beauty Association (NBA), 78% of at-home nail artists reported longer-lasting funky nail manicures when using templates versus freehand methods. One participant noted her average wear time jumped from 2 days to 6 days after adopting guide sheets for intricate line work. Another saved over $200/year by reducing salon touch-ups.
This tracks with dermatological advice: consistent technique minimizes trauma to the nail matrix, preserving strength over time. If you’re investing in creativity, protect your canvas—your natural nails.
Frequently Asked Questions
How do I clean reusable nail templates?
Rinse immediately after use with warm, soapy water. For dried polish, soak in non-acetone remover for 2–3 minutes, then gently wipe. Air-dry flat—never heat them.
Can I use nail templates on short nails?
Absolutely! Many brands offer petite-sized templates. Focus on simple patterns like dots or thin stripes—they read bold even on tiny surfaces.
Are funky nail manicures damaging?
Only if done poorly. Always use breathable polishes and give nails a 2–3 day break between sets. Check ingredient safety via the EWG’s Skin Deep database (ewg.org).
Where can I buy quality nail templates?
Look for medical-grade silicone options—they’re flexible, durable, and hypoallergenic. We detail trusted sources in our About Us section, where our team tests every product.
How long do template-based manicures last?
With proper prep and sealing, 5–7 days is standard. Reapplying top coat on day 3 boosts longevity.
What if my design still smudges?
You likely rushed drying time. Each layer needs 60–90 seconds under a fan—not just “tacky dry.” Patience prevents regrets.
Conclusion
Funky nail manicures shouldn’t mean frantic fixes. With smart templates, solid prep, and a few pro habits, you can flaunt complex art that lasts—all while keeping your nails healthy. Ready to turn your fingertips into masterpieces? Share your wildest design with us—we love featuring fan art! Contact Us anytime. And remember: your privacy matters. Review our Privacy Policy before sending personal photos.
Nails loud, life proud—just don’t skip the base coat.