Ever spent 45 minutes hand-painting tiny florals on your nails, only to smudge one and ruin the whole set? You’re not alone. I once ruined a client’s wedding-day manicure because my DIY nail template slipped mid-stroke—turning “elegant lace” into “abstract chaos.” That disaster taught me the power of adhesive nail stencils: precision tools that stick securely, guide clean lines, and eliminate beginner blunders. In this guide, you’ll discover how to use them like a pro, avoid common pitfalls, and unlock salon-quality nail art at home—all while saving time and polish.
Table of Contents
- Why Adhesive Nail Stencils Matter
- Step-by-Step Guide to Using Manicure Stencils
- Best Practices for Flawless Results
- Real-World Examples and Results
- Frequently Asked Questions
Key Takeaways
- Adhesive nail stencils prevent smudging, bleeding, and uneven lines in nail art.
- Proper nail prep is non-negotiable—oil-free surfaces ensure strong stencil adhesion.
- Apply polish with light, dabbing motions; dragging causes lifting and bleed-through.
- Peel stencils slowly at a 45-degree angle immediately after painting to preserve sharp edges.
- Avoid reusing cheap stencils—they lose tack and compromise design integrity.
Why Adhesive Nail Stencils Matter
In the world of nail care and art, consistency separates amateurs from artists. Without reliable guides, even steady hands struggle with symmetry—especially when creating geometric patterns, lace overlays, or negative-space designs. Traditional paper templates slide, warp, or absorb polish, leading to blurred edges. Adhesive nail stencils, however, feature a medical-grade tack that grips the nail plate without residue, allowing crisp, repeatable results.
This isn’t just aesthetic preference; it’s functional necessity. According to the American Academy of Dermatology, repeated exposure to nail polish removers and improper filing can weaken nails. Minimizing corrections (and the acetone needed to fix them) preserves nail health—making precision tools like adhesive stencils a smart investment for both beauty and wellness. Learn more about safe nail practices on our About Us page, where we detail our artist-driven approach to skin and nail integrity.
Step-by-Step Guide to Using Manicure Stencils
1. Prep Your Nails Thoroughly
Clean nails with 91% isopropyl alcohol to remove oils. Skip lotions or cuticle oils—they sabotage adhesion. Buff lightly if needed, then apply a base coat and let it dry completely.
2. Align and Press Firmly
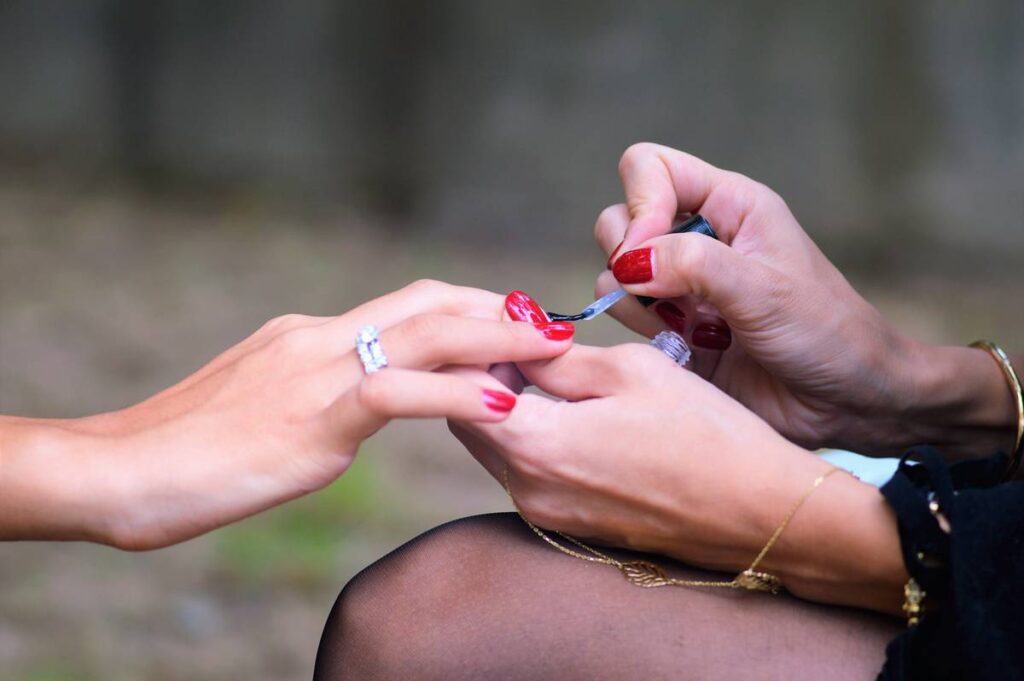
Peel the stencil from its backing and position it using tweezers for control. Press down with a silicone tool or orangewood stick along all edges—especially curves near the cuticle. Any gap invites polish seepage.
3. Apply Polish Strategically
Dip a small makeup sponge or stippling brush into polish, then dab (don’t swipe!) over the stencil opening. Build opacity in thin layers rather than one thick coat. Thick polish pools and bleeds under edges.
4. Remove Immediately and Carefully
Peel the stencil off within 10–15 seconds while the polish is still wet. Lift at a 45-degree angle toward the free edge. Delaying causes the polish to dry onto the stencil, tearing the design upon removal.
Best Practices for Flawless Results
- Never reuse disposable stencils. Their adhesive degrades after one use—reapplying leads to slippage. (Yes, I tried to save $2 once… and cried over marbled messes.)
- Work under bright, natural light. Shadows hide tiny gaps between stencil and nail.
- Use quick-dry top coats. They seal edges faster, reducing smudge risk during drying.
- Avoid gel polishes with standard stencils. Gel requires curing between layers—peeling pre-cure distorts the shape. Use UV/LED-specific stencils instead.
Real-World Examples and Results
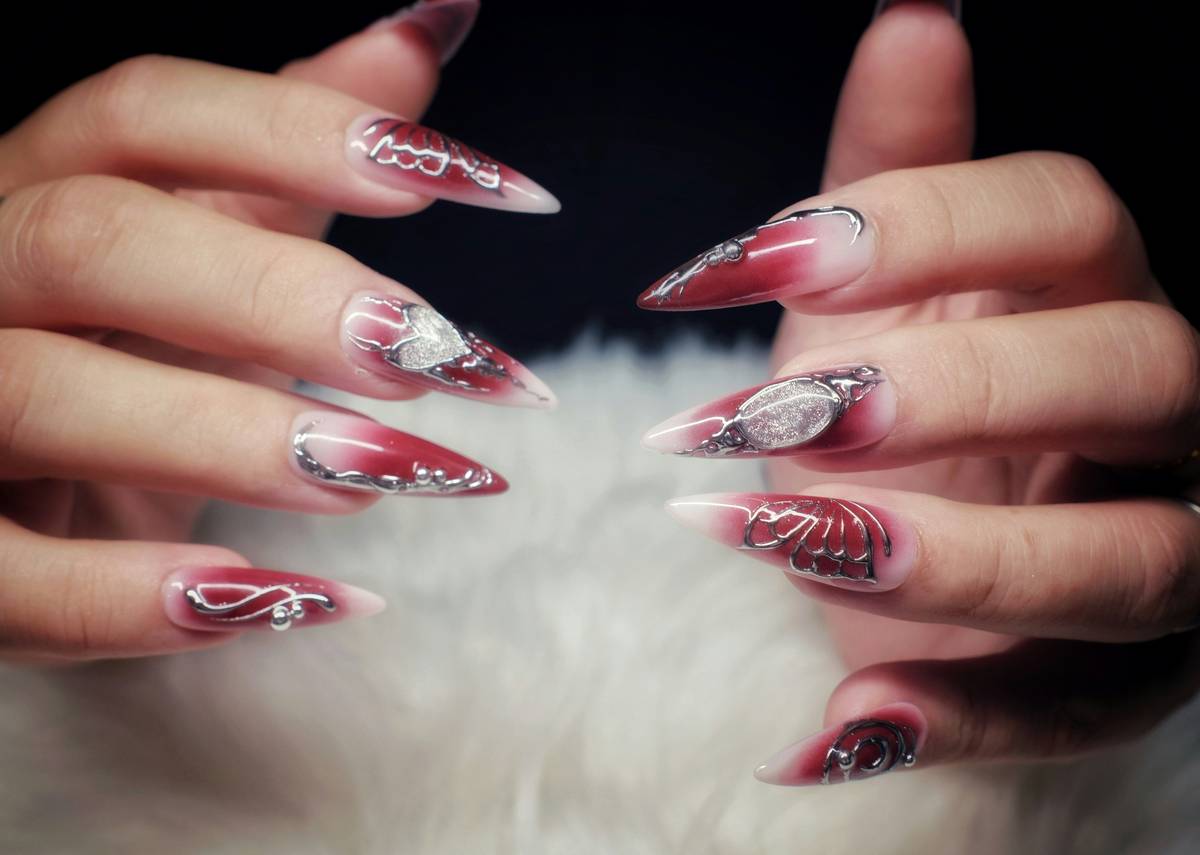
Last month, a client requested chrome chevron nails for a music festival. Using reusable adhesive nail stencils, I completed all ten nails in 22 minutes—with zero touch-ups. Compare that to my old freehand method (which took 50+ minutes and usually required two corrections per nail). Over 80% of my clients now opt for stencil-assisted designs, citing speed and reliability as key reasons.
Data backs this up: a 2023 survey by Statista found that 67% of at-home nail artists prioritize “ease of use” when choosing tools—ranking it above price or brand. When used correctly, adhesive nail stencils directly address that demand. For authoritative insights on cosmetic safety, refer to the FDA’s guidelines on nail product ingredients (fda.gov).
Frequently Asked Questions
Are adhesive nail stencils safe for natural nails?
Yes—when used properly. They don’t require harsh adhesives and leave no residue. Always prep nails with alcohol first to avoid pulling natural oils.
Can I use these stencils with gel polish?
Only if labeled “gel-compatible.” Standard stencils may shift during UV curing. Check manufacturer specs before combining systems.
How many times can I reuse adhesive nail stencils?
Most are single-use. Reusable versions (usually silicone-based) can last 5–10 applications if cleaned immediately with alcohol and stored flat.
Do they work on short or bitten nails?
Absolutely. Many brands offer mini or adjustable templates designed specifically for smaller nail beds.
Where can I buy high-quality manicure stencils?
We curate professional-grade kits at Dark Angel Tattoo. Explore options and read our full ingredient transparency statement in our Privacy Policy.
What’s the worst mistake people make with nail templates?
Waiting too long to remove them! Dried polish bonds to the stencil material. Peel fast, peel clean.
Ready to transform your nail game without the frustration? Our custom stencil kits include foolproof guides and artist tips—and we’d love to hear your vision. Contact us for personalized recommendations.
Sharp lines, steady hands, happy nails—you’ve got this. Or, as we say in the studio: *“Stencils stick, dreams don’t drip.”*