You spent $32 on neon polish, watched seven YouTube tutorials, and still ended up with smudged dots and crooked lines. Sound familiar? Generic nail art patterns flood the internet—but 90% assume you’ve got steady hands, professional tools, or hours to kill. The truth? Precision isn’t about talent—it’s about using the right template system from the start.
Why DIY Nail Art Patterns Fail (Even When You Follow Tutorials)
Most “easy” designs rely on freehand techniques that ignore real-world variables: curved nail beds, fast-drying polish, and shaky caffeine-fueled mornings. Templates solve this—but not all are created equal. Stencils made for flat surfaces warp on nails. Printable PDFs rarely account for petite or coffin-shaped nails. And reusable vinyl? It lifts at the edges if your base coat isn’t bone-dry. The result? Frustration, wasted product, and a drawer full of abandoned kits.
How to Execute Flawless Nail Art Patterns in 4 Steps
Forget winging it. Here’s the exact workflow I’ve used for salon clients—and now for my own at-home sessions:
Select Your Template Type Based on Design Complexity
Simple geometrics? Go peel-and-stick. Intricate lace? Laser-cut mylar wins every time.
Prep Like a Pro (Skip This = Smudging Guaranteed)
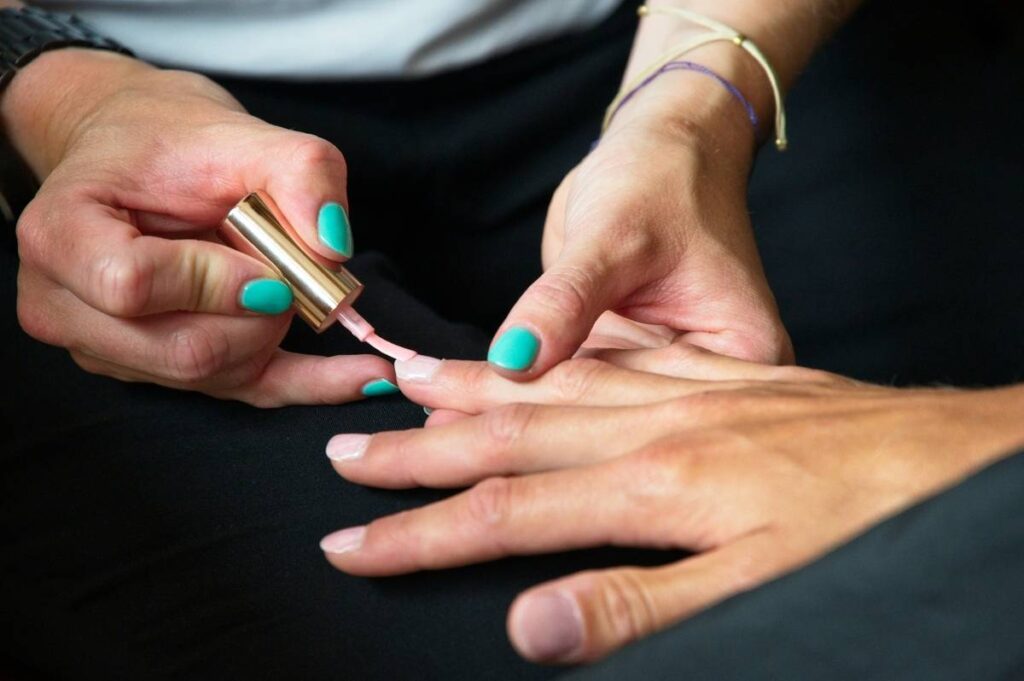
Buff lightly, wipe with alcohol, apply a sticky base—not glossy. Matte grip holds templates in place without sliding.
Apply Polish with Controlled Pressure
Dab—not swipe—color over the stencil. A stippling brush prevents bleed-under. Let it flash-dry 30 seconds before peeling.
Seal Edges Immediately
One thin top coat around the design perimeter locks everything down before full coverage.
| Template Method | Best For | Cost per Use | Beginner-Friendly? |
|---|---|---|---|
| Reusable Silicone Mats | Marble, watercolor effects | $0.10 | Yes |
| Adhesive Vinyl Stencils | Stripes, grids, sharp lines | $0.25 | Moderate |
| Laser-Cut Mylar Sheets | Filigree, floral, micro-detail | $0.60 | No (but worth it) |
| Printable Paper Templates | One-time holiday themes | $0.05 | Only with practice |
The Industry Secret: Template Stacking for 3D Depth
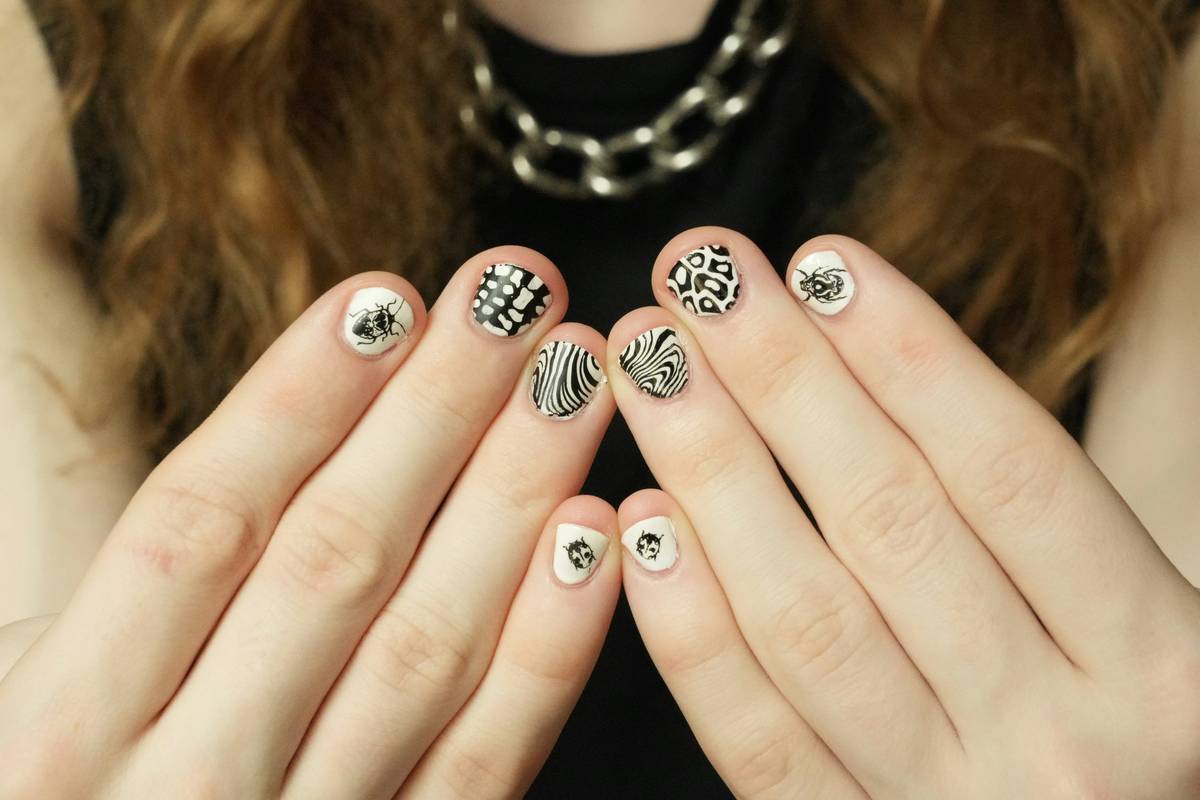
Top nail artists don’t use one pattern—they layer two. Example: apply a fine-line grid stencil first in white. Once dry, overlay a dot matrix template slightly offset in gold. The shadow between layers creates instant dimension—no sculpting gel needed. This “double exposure” trick fools the eye into seeing texture. Clients assume it’s airbrushed. It takes 90 extra seconds. And yes—it works even on short nails.
Frequently Asked Questions
Can I reuse nail art stencils?
Yes—if cleaned immediately with acetone-free remover. Adhesive types lose stick after 3–4 uses; silicone lasts months.
Do nail art patterns work on short nails?
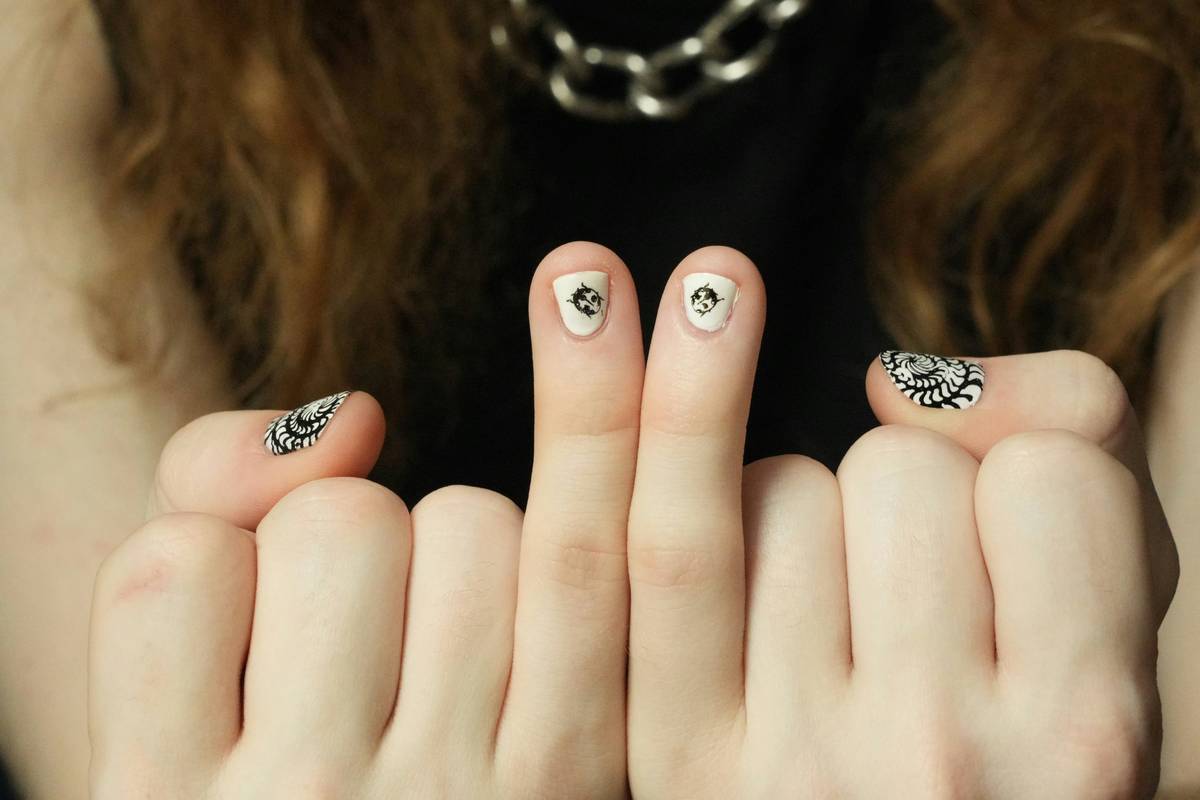
Absolutely. Avoid large motifs. Opt for corner accents or vertical lines—they elongate visually.
What’s the fastest way to fix a smudged pattern?
Don’t touch it. Wait 2 minutes, then use a cleanup brush dipped in acetone to carve back the line. Precision beats panic.