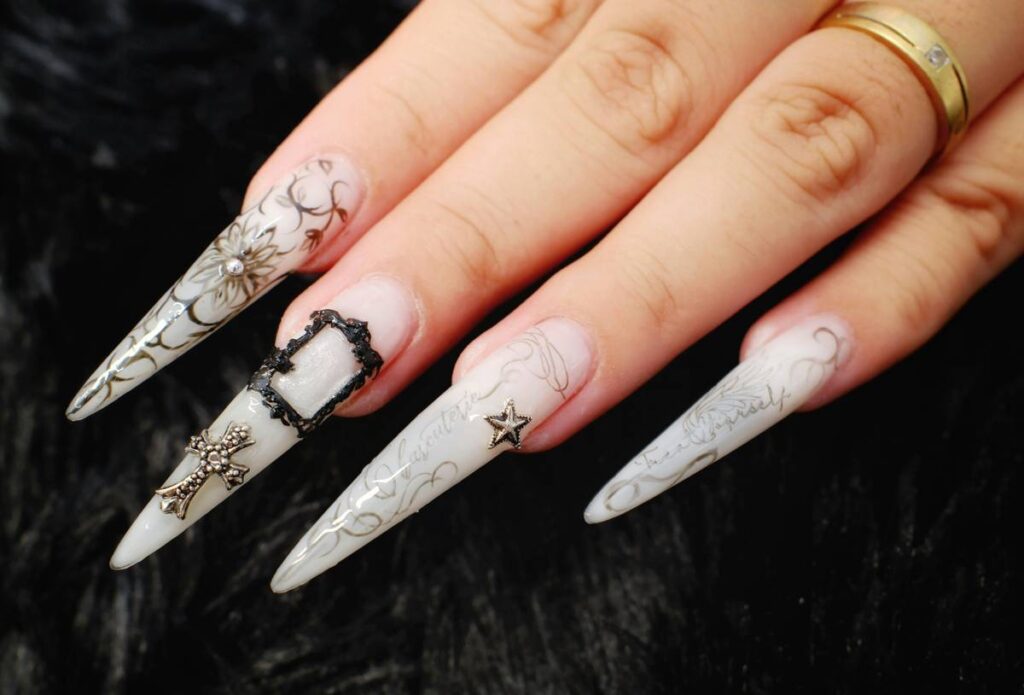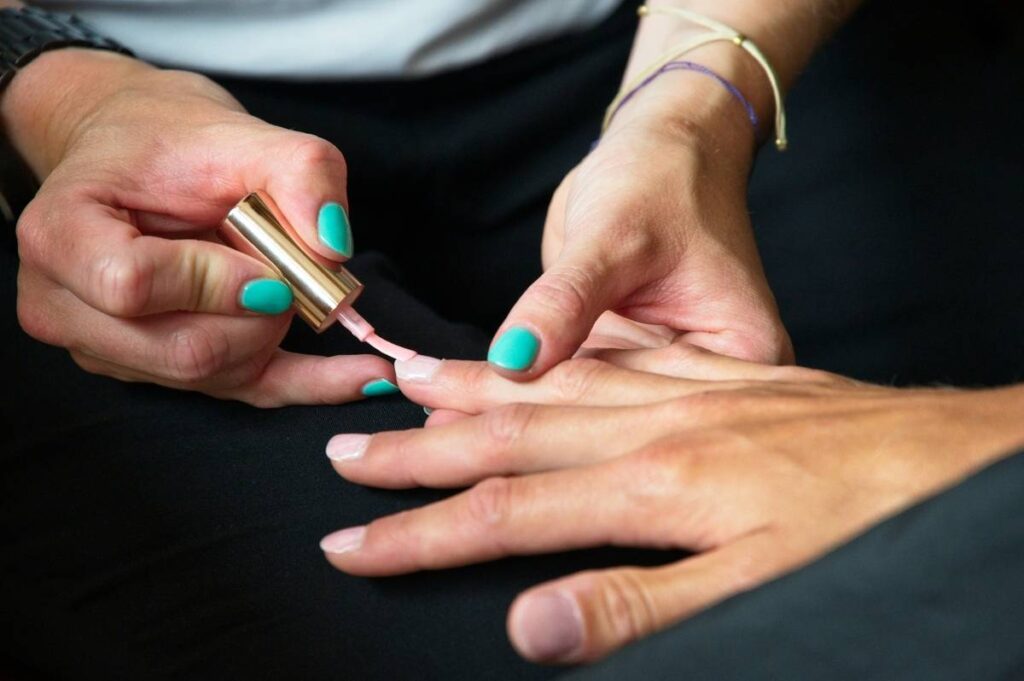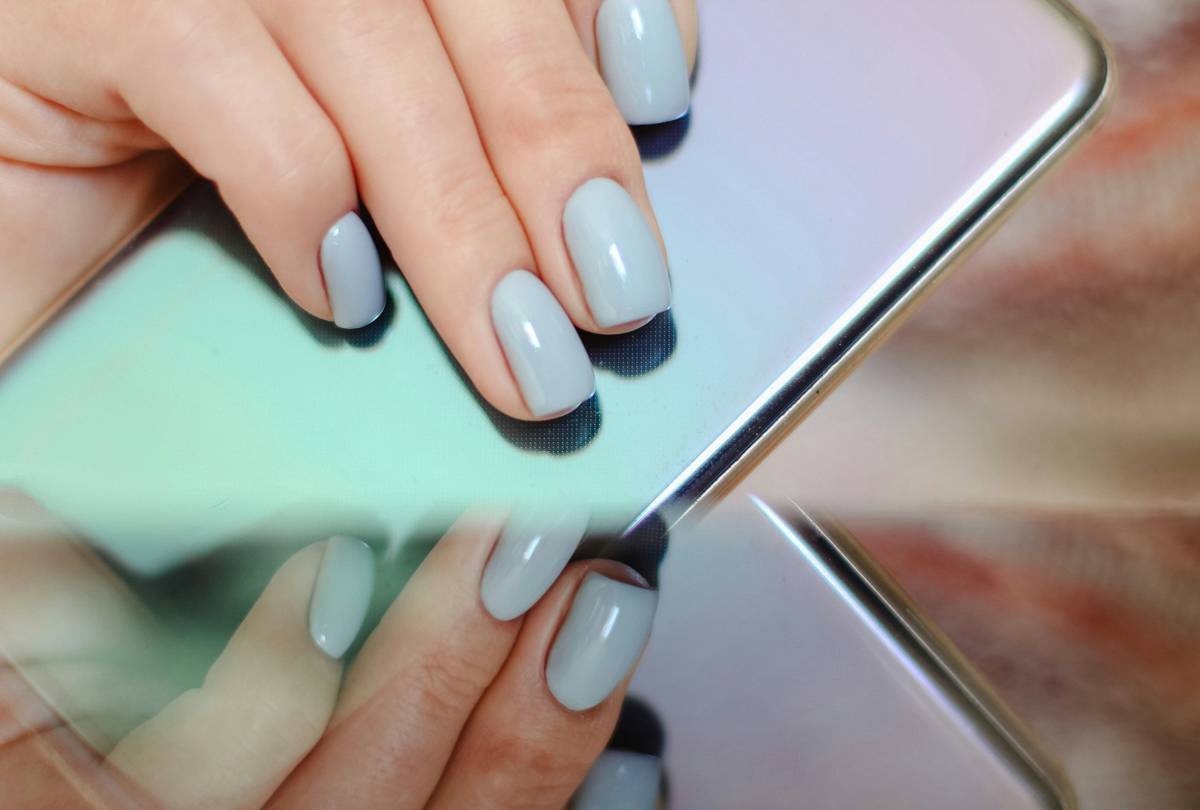
Scrolling through endless nail inspo only to end up with the same French tips? You’re not alone. The real problem isn’t lack of ideas—it’s lack of precision. Hand-painting intricate patterns feels impossible without steady nerves and a surgeon’s hand. But what if you could skip the shaky lines and still land gallery-worthy results? Enter nail templates: the unsung hero behind every viral set.
Why Freehand Fails for Truly Unique Nail Designs
Most DIYers think skill alone creates standout nails. Wrong. Even seasoned nail techs struggle with symmetry, spacing, and scale when working freehand on a 1cm canvas. A single tremor ruins geometric grids. One uneven petal collapses delicate florals. And don’t get me started on micro-dots lining up like soldiers—good luck.
The truth? Uniqueness without repeatability is just chaos. You might nail (pun intended) one perfect accent nail after three tries—and waste product, time, and patience in the process.
How to Execute Flawless Unique Nail Designs Using Templates: A Step-by-Step Blueprint
Forget guesswork. This system works whether you’re at home or running a salon.
Select Your Template Type Based on Design Complexity
Not all stencils are equal. Vinyl stickers suit soft gradients. Mylar film sheets handle razor-sharp lines. And magnetic foil guides? Perfect for chrome symmetry. Match material to your end goal.
Prep Like a Pro—No Exceptions
Clean, dehydrated nails are non-negotiable. Oil residue causes template lift—and bleed. Wipe twice: once with acetone, once with alcohol. Buff lightly for grip, but never strip natural shine.
Apply, Press, Peel—Then Seal Immediately
Lay the template flat. Press edges firmly with an orange stick. Apply polish in thin layers—thick coats seep underneath. Peel *while wet* for crisp edges. Cure or dry, then lock it in with two topcoat layers.
| Template Material | Best For | Cost Range (Per Sheet) | Reusability |
|---|---|---|---|
| Vinyl Stickers | Soft gradients, organic shapes | $0.50 – $2 | Single-use |
| Mylar Film | Geometric lines, checkerboards, sharp patterns | $1 – $4 | 3–5 uses (if cleaned properly) |
| Magnetic Foil Guides | Chrome effects, mirrored symmetry | $3 – $8 | 5+ uses |
| Silicone Stamping Mats | Transferring complex art from plate to nail | $2 – $6 | Unlimited |
The Industry Secret: Pros Don’t Invent—They Remix
Here’s what no Instagram nail artist will admit: “unique” doesn’t mean 100% original. It means unexpected combinations. Last month, I watched a top L.A. tech take a basic chevron template, rotate it 45 degrees, fill alternate triangles with holographic pigment, and outline the rest in matte black. Boom—editorial-worthy set in under 12 minutes.
The real artistry lies in hybridizing templates. Layer a lace stencil over a dot grid. Offset a stripe guide by half a millimeter for optical illusion depth. Constraints breed creativity—not limit it. And templates? They’re your creative scaffolding.
Frequently Asked Questions
Can I make my own nail templates at home?
Yes—with overhead projector sheets and a precision cutter. But commercial templates offer micron-level accuracy. DIY works for practice; pros use engineered films.
Do templates work on short or bitten nails?
Absolutely. Choose micro-patterns (tiny dots, fine lines). Avoid large motifs that overwhelm small surfaces. Scale matters more than length.
How do I prevent polish bleeding under the template?
Seal the edges first with a clear base coat, let it dry 30 seconds, then apply color. Thin layers + quick peel = zero bleed.