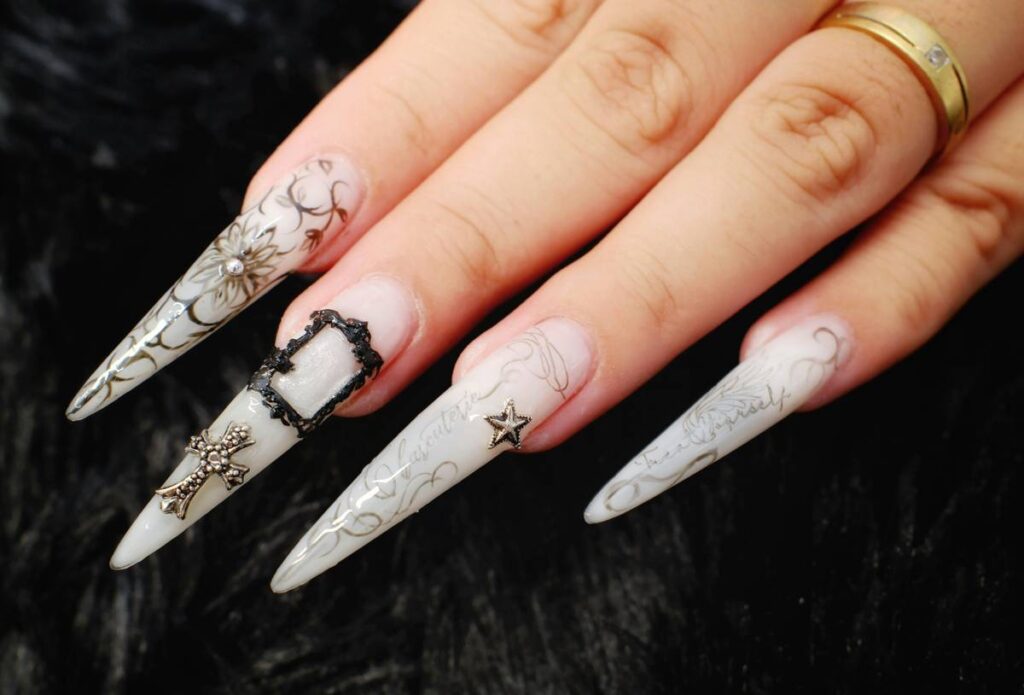
You spent hours scrolling TikTok, saw a trendy nail art design that stopped your thumb mid-swipe—and now you’re staring at your bare nails, overwhelmed. No steady hand. No airbrush. Just shaky confidence and a $40 bottle of gel you barely know how to cure. Here’s the fix: templates aren’t cheating. They’re your shortcut to salon-level results—without the salon markup.
Why Freehand Nail Art Fails 9 Out of 10 Times
Let’s be blunt: most “easy” nail art tutorials assume you’ve got surgeon-level precision and infinite patience. But real life? Your hands tremble. Lighting sucks. And that neon pink stamp smudges before it dries. Trendy nail art demands symmetry, clean lines, and zero margin for error—things even seasoned techs struggle with during rush hour.
And here’s what no one admits: freehand looks “artsy” until it doesn’t. One crooked line ruins the whole set. Suddenly, you’re scraping it all off before dinner.
How to Use Nail Templates Like a Pro (Without Wasting Product)
Templates aren’t just stickers. They’re precision tools—if you know the tricks. Below is the exact workflow I teach my apprentices at Dark Angel Studio.
Selecting the Right Template Material
Paper tears. Plastic slips. My go-to? Reusable silicone stencils—they hug the nail curve, block polish bleed, and survive acetone baths. Look for ones labeled “nail-specific.” Craft store varieties warp under UV light.
Application Timing Is Everything
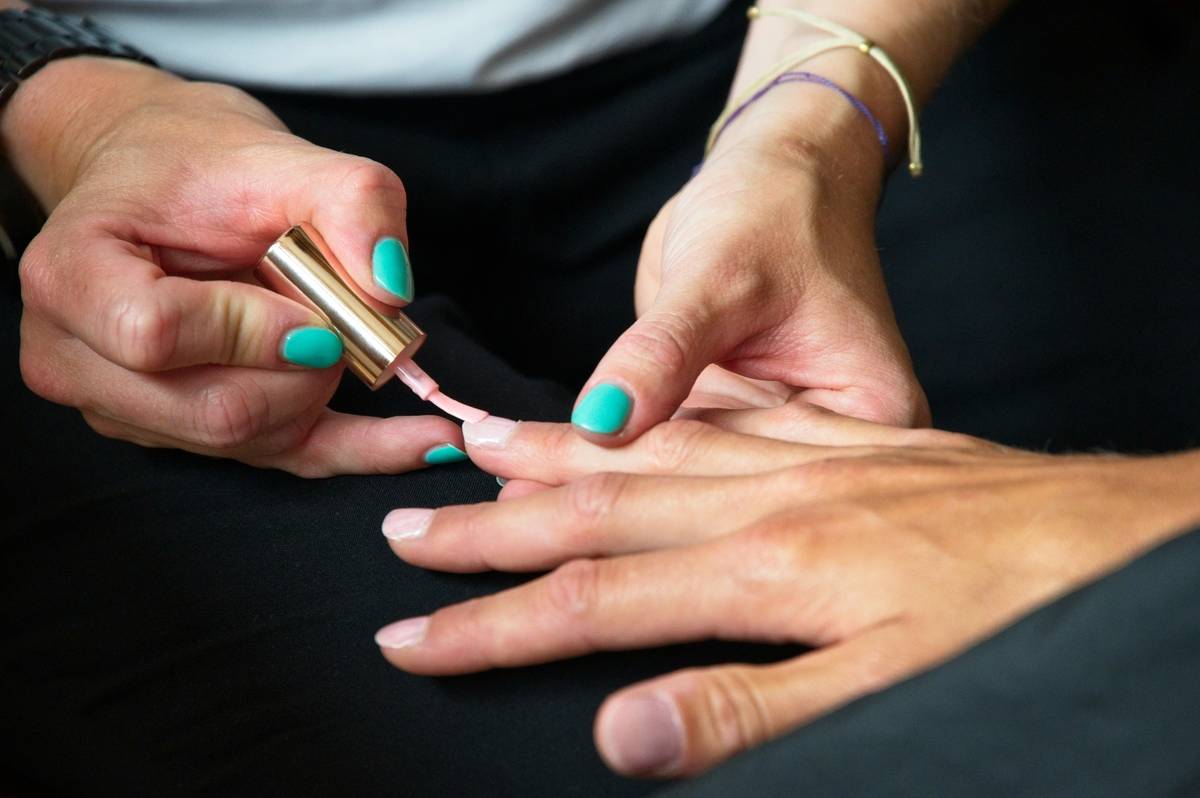
Apply your base color—but don’t fully cure it. Leave it tacky. Press the template down *now*. The slight stickiness holds it in place better than tape ever could. Cure together. Peel. Clean edges with a micro brush dipped in alcohol—not acetone. Acetone lifts pigment.

Clean-Up Hacks Most Techs Won’t Share
Even with perfect alignment, polish bleeds. Fix it instantly: dip an angled liner brush in cuticle oil—not remover—and trace the edge. Oil dissolves excess without disturbing cured layers underneath. Magic? No. Chemistry.
| Method | Cost per Use | Learning Curve | Ideal For |
|---|---|---|---|
| Freehand Painting | $0.10 | Steep (20+ tries) | Abstract, organic designs |
| Sticker Decals | $0.75 | Easy (but peels early) | One-time events |
| Reusable Silicone Templates | $0.05 | Moderate (3–5 uses) | Trendy nail art with geometric/precise patterns |
| Airbrush System | $4.00+ | Very steep | Professional studios only |
The Industry Secret: Trend Cycles Are Engineered—Don’t Chase Them Blindly
Here’s what brands won’t tell you: “trendy nail art” changes every 6–8 weeks because pigment suppliers coordinate launches with fashion weeks. But the underlying geometry? That’s recycled. Chevron, negative space, micro-dots—they resurface every 18 months with new names like “cyber glam” or “quiet luxury nails.”
Smart move: invest in 3–5 versatile templates that cover core shapes (lines, half-moons, grids). Rotate colors seasonally. You’ll look current without buying a new kit every month. The math is simple: $25 in durable tools beats $120 in disposable decals.
Frequently Asked Questions
Can I reuse nail templates multiple times?
Absolutely—if they’re silicone. Rinse with soapy water, pat dry, store flat. Avoid folding. Quality ones last 30+ uses.
Do templates work on short or bitten nails?
Yes. Trim the stencil with scissors to fit. Focus on the center third of the nail—it’s the most visible area anyway.
How do I prevent polish from bleeding under the template?
Use thick, highly pigmented polish. Thin formulas seep. Apply with a dotting tool or flat brush—never flood the area. Less is more.