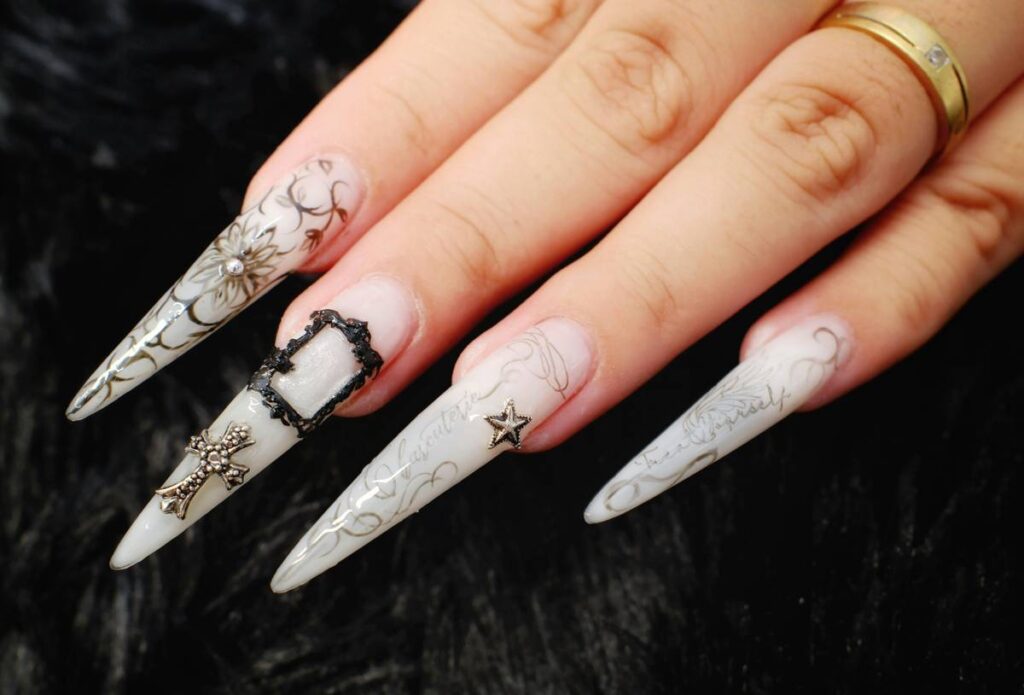
Trying to recreate those jaw-dropping, gallery-worthy manicures you see online? You’re not alone. Most DIY attempts end in smudged lines, uneven spacing, or giving up halfway—because freehand just doesn’t cut it for intricate nail patterns. The truth? Precision isn’t about steady hands. It’s about the right system.
Why freehand fails for intricate nail patterns
Let’s be real: unless you’ve spent years painting miniature landscapes on rice grains, your hand trembles. And that’s fine. But expecting clean mandalas, micro-geometrics, or lace-like filigree without structural support? You’re setting yourself up for frustration.
Freehand relies on reflexes and guesswork—two things no amount of coffee fixes. Nail canvases are tiny. A 0.5mm slip = total pattern collapse. Pros don’t wing it. They use guides. Yet most tutorials act like templates are “cheating.” That’s nonsense—and here’s why it costs beginners time, polish, and confidence.
Your step-by-step guide to flawless intricate nail patterns
Forget YouTube hacks that skip prep. This method—used quietly by top nail artists—starts with surface control, not brush strokes.
Choose your template type wisely
Not all nail stencils are equal. Vinyl decals stretch. Paper tears. Silicone molds shift. For repeatable precision, laser-cut mylar templates win. They’re reusable, ultra-thin (0.1mm), and cling via static—not adhesive—so no residue ruins your base coat.

Prep the nail like a pro
Cleanse with 99% isopropyl alcohol. No oils, no lotions, no “just-washed” moisture. Dryness = adhesion. Then apply a sticky base coat—not glossy. Let it sit tacky for 30 seconds. That micro-sticky layer is what holds your template flush against curves and cuticles.
Apply, fill, lift—fast
Place the template. Press edges with an orangewood stick—no fingers (oils again!). Flood negative space with gel or highly pigmented polish. Cap the free edge if using regular lacquer. Cure or dry for 60 seconds. Then—here’s the move most miss—peel upward at a 45-degree angle while the polish is still semi-wet. Clean edges lock in place as it fully dries.
| Template Material | Reusability | Edge Precision | Learning Curve |
|---|---|---|---|
| Paper Stencils | Single-use | Moderate (frays) | Low |
| Vinyl Decals | 2–3 uses | Good (if aligned perfectly) | Medium |
| Laser-Cut Mylar | 20+ uses | Exceptional (crisp lines) | Low-Medium |
| DIY Foil Cutouts | Once | Poor (jagged edges) | High |
The industry secret: Templates aren’t crutches—they’re accelerators
Here’s something top salon artists won’t advertise: they use templates too. Not for every design—but for anything requiring symmetry, repetition, or micro-detail under 1mm. Why? Because clients pay for perfection, not process. And honestly, if you can execute a complex pattern faster with a guide, you’re not losing skill—you’re gaining throughput.
Think about it. Architects use rulers. Musicians use metronomes. No one calls them “less talented.” Nail art is visual engineering on a curved, moving surface. Tools exist to remove variables—not creativity. Your artistic choices happen in color combos, layering, and motif selection—not in shaky wrist endurance.
Frequently Asked Questions
Can I reuse nail templates?
Yes—if they’re mylar or high-grade vinyl. Wash gently with acetone-free remover after use, air-dry flat, and store between glass sheets to prevent warping.
Do templates work on short nails?
Absolutely. In fact, they’re easier—less curvature means better contact. Just scale down your pattern choice; avoid designs meant for stiletto lengths.
Why do my lines bleed under the stencil?
Your base wasn’t tacky enough, or you used runny polish. Always use thick, pigmented formulas—or gel—and ensure the underlying layer is sticky-dry before placing the template.