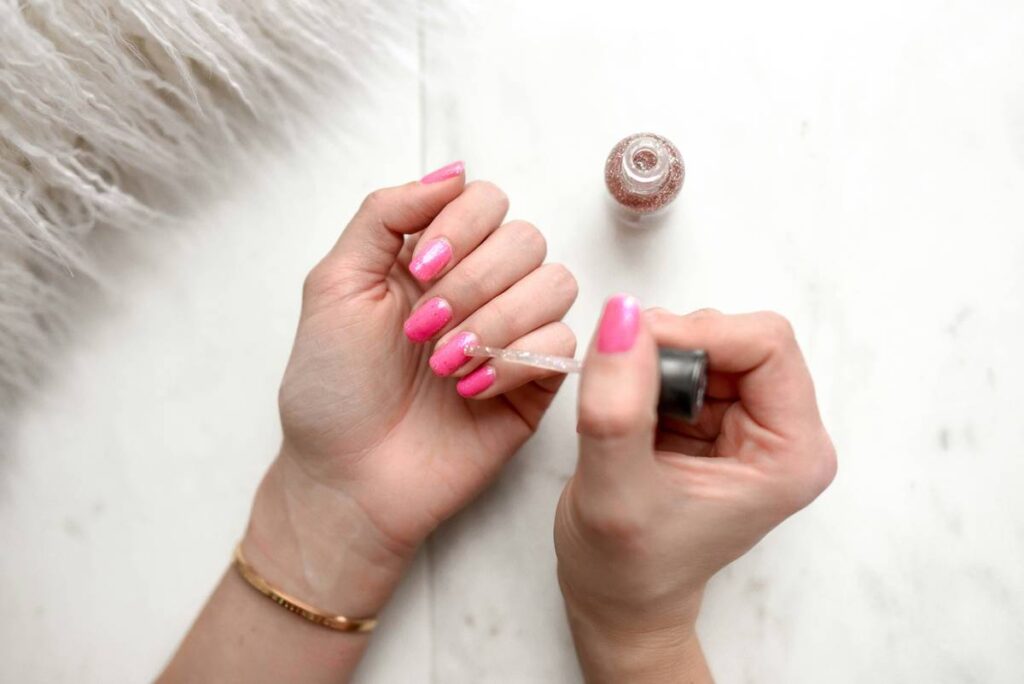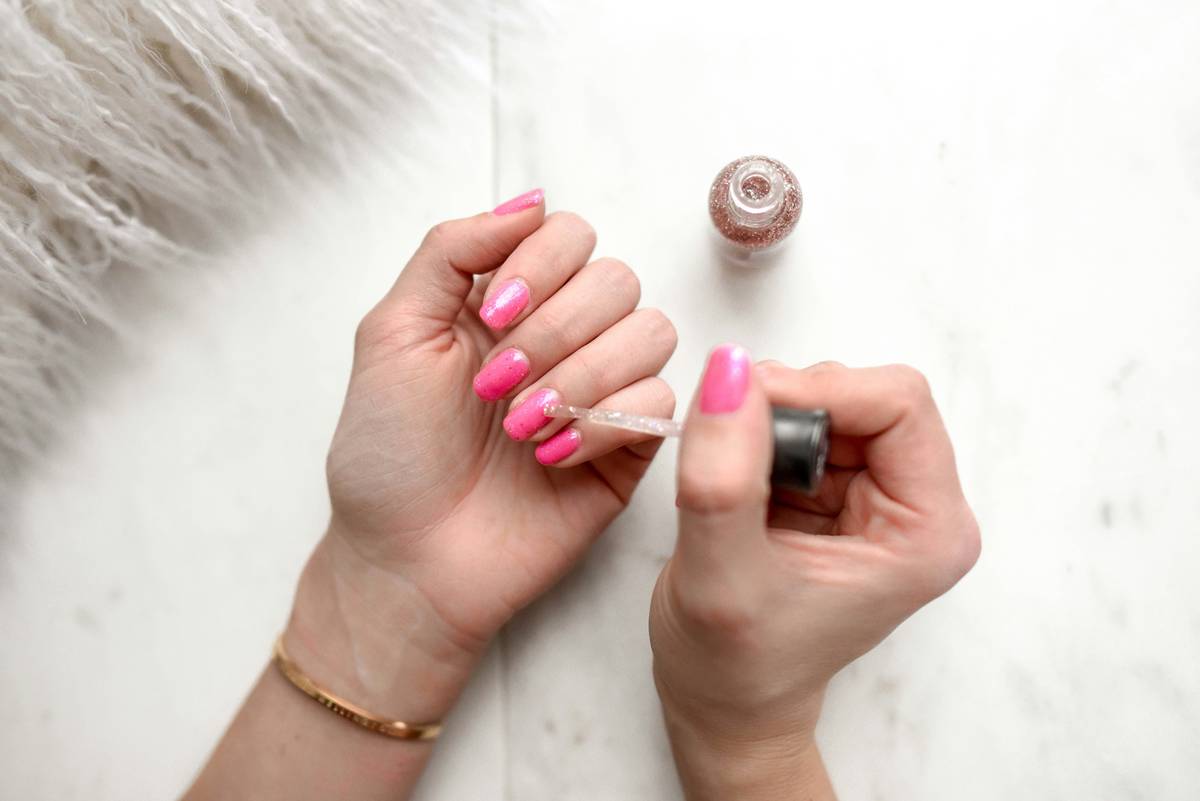
Most nail art looks the same—safe, symmetrical, and soulless. You scroll through Pinterest only to see diluted versions of the same minimalist French tips. It’s exhausting. But here’s the fix: ditch predictability. Go loud. Go graphic. Go for bold nail art ideas that command attention before your hand even lands on a table.
Why Generic Tutorials Fail Your Manicure
YouTube tutorials preach “precision” but deliver mediocrity. They assume you own a $200 airbrush kit or steady hands honed over ten years in a salon. Reality? Most of us work with drugstore polish, shaky fingers, and 15 minutes between Zoom calls. And those free printable nail templates? Sizing is off by a millimeter—and that’s enough to ruin an entire design.
Worse—they ignore texture. Matte vs glossy vs chrome behaves differently under stencils. No one talks about how humidity warps decal adhesion. You’re left guessing, wasting polish, and scraping off half-finished claws at 2 a.m.
How to Execute Bold Nail Art Ideas—Without a Pro Budget
Pick Templates That Respect Anatomy
Not all nails are almond-shaped canvases. Oval, square, coffin—each needs a tailored template. Skip Pinterest PDFs. Instead, use adjustable vector files (SVG) you can resize without pixelation. Sites like Creative Market or Etsy shops specializing in nail SVGs offer better scaling than rigid PNGs.
Layer Strategically—Not Just Loudly
Bold doesn’t mean chaotic. Pick one statement element per hand: maybe lightning bolts on your ring finger, negative space geometry on your thumb. Rest? Solid blocks or clean neutrals. Contrast creates drama—not clutter.
Seal Like a Pro (Even If You’re Not)
Glossy top coats drown metallics. Matte sealants flatten dimension. Solution? Use a dual-phase top coat—shine on color zones, matte on textures. Or better yet: spot-seal. Apply clear gel only where needed, then cure. Precision > coverage.

| Method | Cost (USD) | Durability | Beginner-Friendly? |
|---|---|---|---|
| Reusable Silicone Stencils | $8–$15 | 7–10 days | Yes—flexible, forgiving |
| Water Decals | $3–$7 per sheet | 5–7 days | No—timing is critical |
| Hand-Painted Freehand | $0 (uses existing polish) | Varies wildly | Only with practice |
| Laser-Cut Vinyl Templates | $12–$20 | 10+ days (with sealing) | Moderate—requires tweezers & patience |
The Industry Secret: Imperfection Is Your Edge
Seriously—salon clients don’t want factory-perfect nails. They want personality. A slightly crooked stripe? Call it “rebel geometry.” Smudged edge? Frame it as “intentional distressing.” The most booked nail techs I know lean into asymmetry. One hand matches; the other tells a story. That slight warp in your stencil application? Lean into it. Turn flaw into feature. Perfection is forgettable. Quirks get Instagram tags.
And here’s what no brand admits: most “viral” designs rely on lighting—not technique. Shoot your finished nails under warm LED with a black velvet backdrop. Suddenly, even basic triangles look editorial.
Frequently Asked Questions
Can I do bold nail art on short nails?
Absolutely. Bold isn’t about size—it’s about contrast and clarity. High-impact shapes like chevrons, micro-stripes, or single-accent dots work brilliantly on short beds. Avoid overcrowding.
Do I need special tools for nail templates?
No. Tweezers, a dotting tool (or bobby pin), and quick-dry top coat suffice. Silicone stencils stick with water; vinyls need minimal adhesive. Skip expensive kits until you’ve mastered basics.
How long does bold nail art last?
With proper base and top sealing: 7–10 days. Reapply top coat every third day—especially on textured or layered areas. Chips happen faster on 3D elements, so minimize raised details if longevity is key.