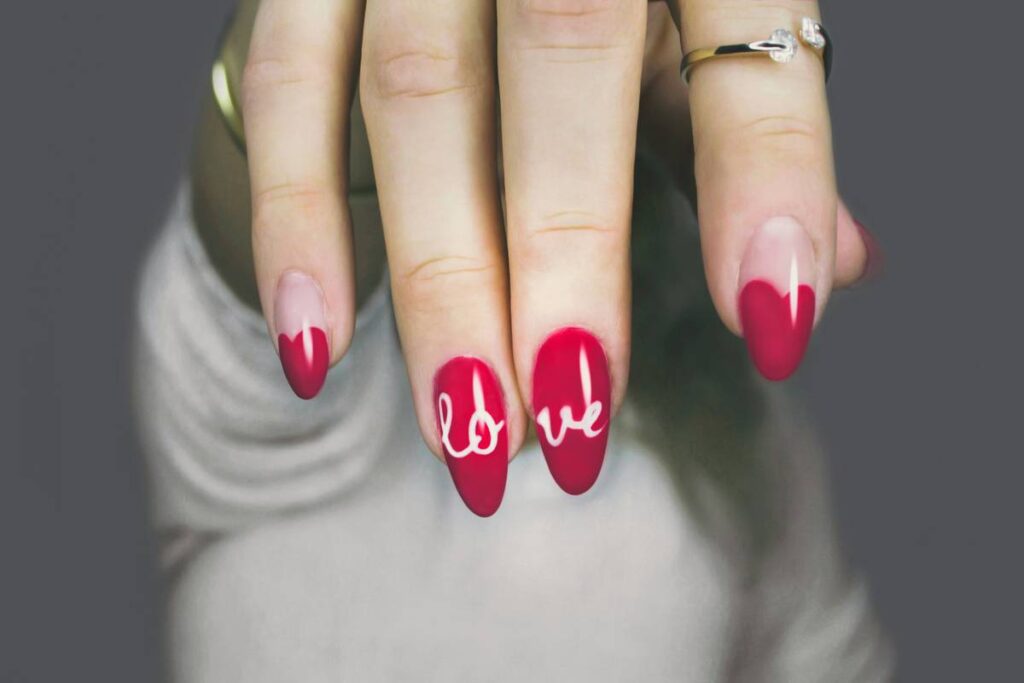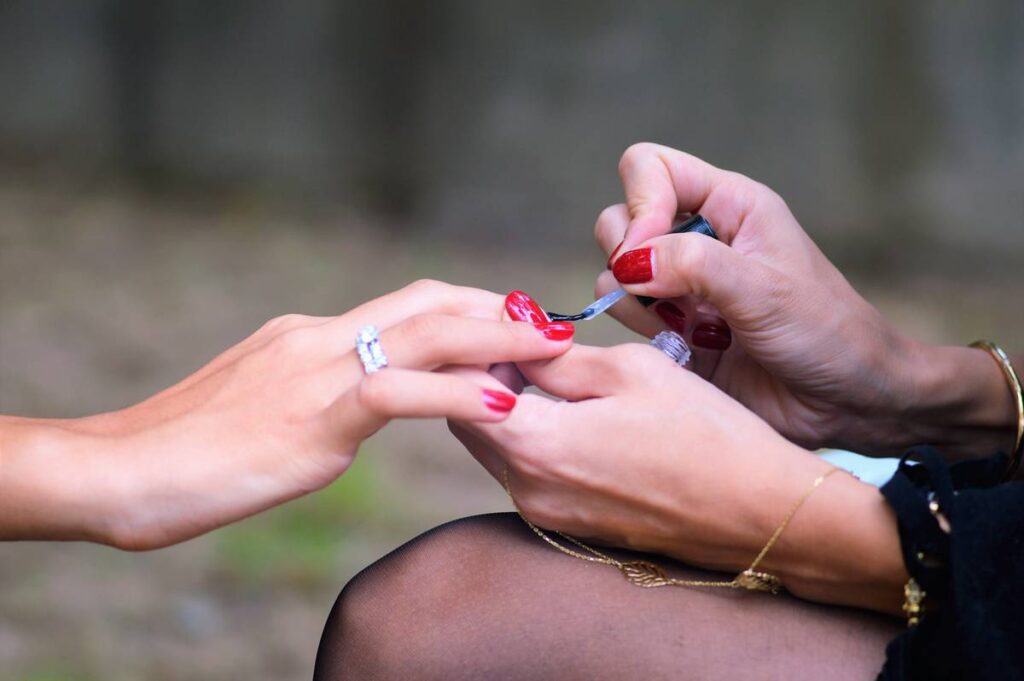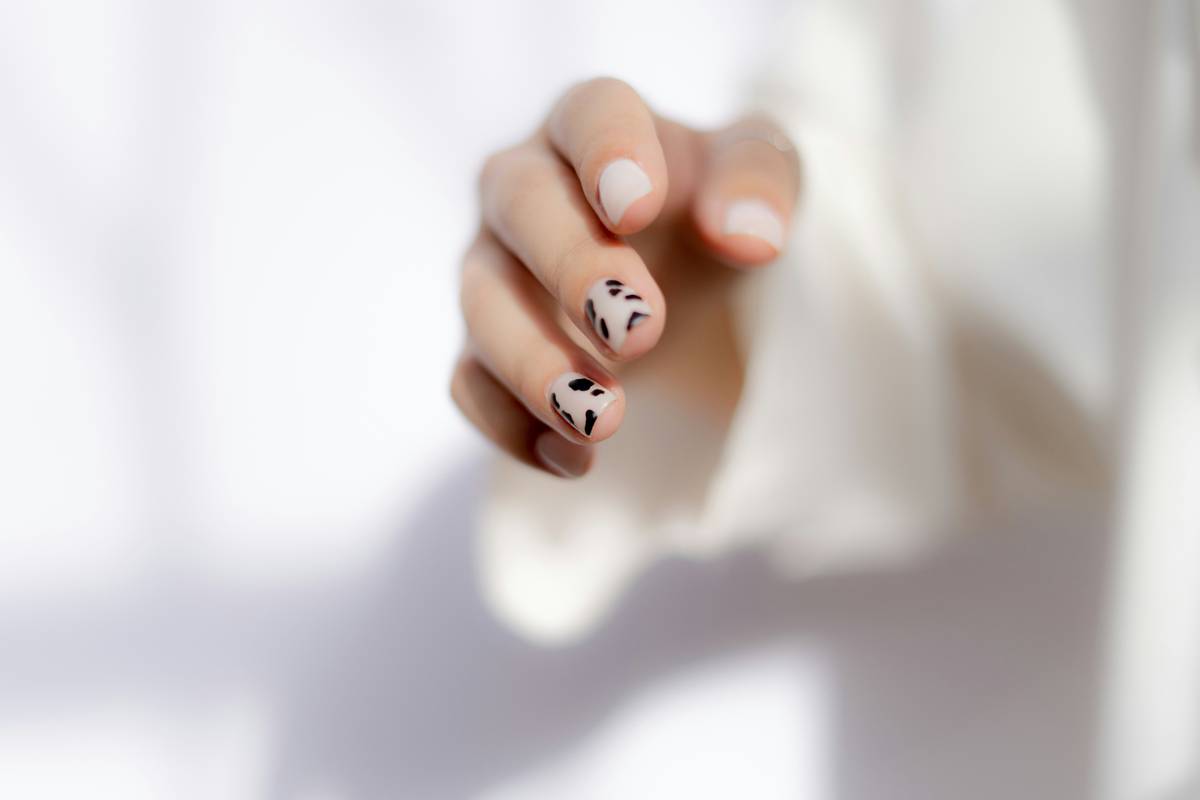
You spend 20 minutes painting one nail—only to smudge the edge. Again. Frustration builds with every wasted drop of polish and crumpled foil stencil. What if you could skip the shaky freehand drama and get crisp, repeatable designs in half the time? Enter reusable nail stencils—your secret weapon for precision without the pro price tag.
Why Traditional Nail Art Methods Keep Failing You
Foil decals peel unevenly. Striping tape lifts at the corners. And drawing tiny hearts by hand? Good luck matching both thumbs. Most DIY approaches assume steady hands and infinite patience—neither of which exist after 9 p.m. on a Tuesday.
Single-use stencils crack after one application. Washable vinyl stickers stretch out of shape. The result? Blurry lines, wasted product, and that nagging voice saying, “Just book a salon.” But salons cost $45+ and still use cheap disposables half the time.
How to Master Reusable Nail Stencils in 5 Foolproof Steps
Forget winged eyeliner-level precision. With the right technique, even beginners nail sharp geometry, delicate florals, or negative-space illusions—consistently.
Prep Like a Pro (Not a Passenger)
Clean nails thoroughly. No oils, no residue. Buff lightly if needed—but skip heavy filing. Smooth = better stencil adhesion. Apply base coat and let it dry completely. Patience here prevents peeling later.
Apply the Stencil with Tension Control
Reusable nail stencils are usually made of flexible silicone or thin plastic. Press firmly along the cuticle edge first, then smooth toward the tip. Don’t stretch it—just conform it. Air bubbles ruin everything.
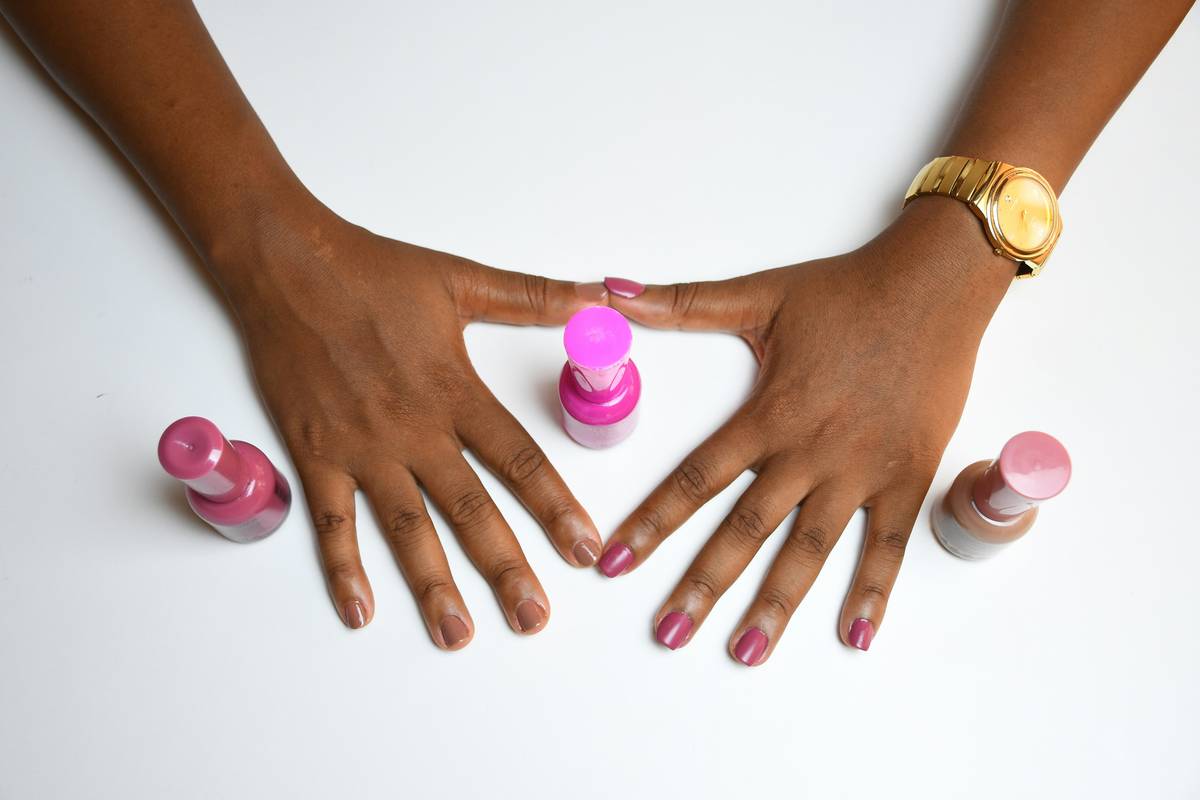
Precision Painting & Removal Timing
Use a fine brush or sponge dabber. Less polish is more—flooding causes seepage. Wait 10–15 seconds for the polish to tack up slightly before peeling off the stencil. Too soon? Smudges. Too late? Peel resistance.
Cleaning & Storage for Longevity
Rinse immediately under warm water. Use a soft toothbrush for dried bits. Air-dry flat—never fold while wet. Store between wax paper sheets in a cool drawer. Proper care = 50+ uses per stencil.
| Method | Cost per Use | Design Precision | Reusability |
|---|---|---|---|
| Freehand Painting | $0.10 | Low (high skill dependency) | N/A |
| Disposable Foil Stencils | $0.75 | Medium | Single-use |
| Reusable Nail Stencils | $0.08 | High (consistent edges) | 50+ uses |
| Salon Visit | $45.00 | Variable | N/A |
The Industry Secret: Stencil Stacking for 3D Depth
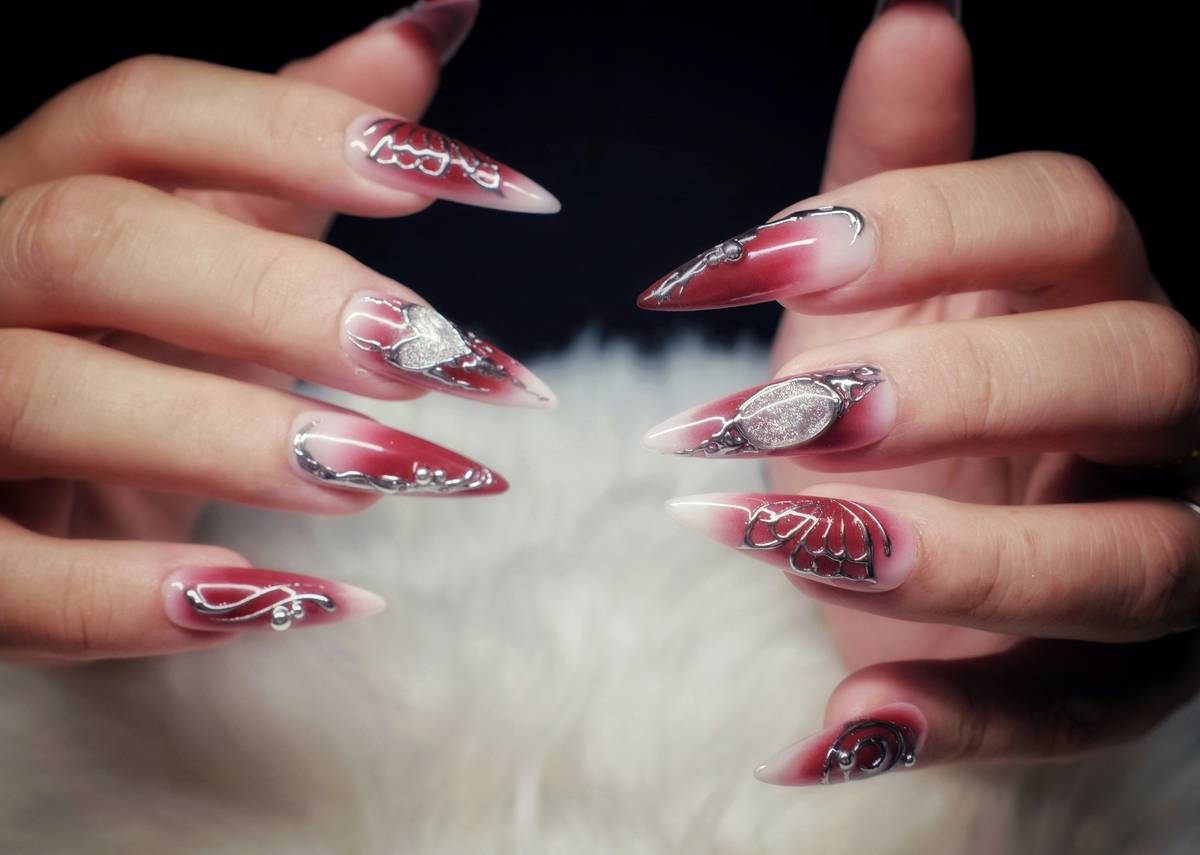
Most tutorials stop at single-layer designs. Here’s what nail artists won’t tell you: layering two compatible reusable nail stencils creates instant dimension. Think lace over geometric lines—or negative space overlaid with micro-dots. Align them using the cuticle as your anchor point. Seal with quick-dry top coat to fuse layers optically. This trick fools even seasoned stylists into thinking you hired someone. And yes—it works with gel, dip powder, and regular polish.
Frequently Asked Questions
Are reusable nail stencils safe for natural nails?
Yes—if cleaned properly between uses. Avoid harsh acetone soaks; mild soap preserves material integrity and protects your nail bed.
Can I use them with gel polish?
Absolutely. Apply the stencil before curing your color layer. Cure as usual after removal. Silicone versions handle UV lamps best.
How many times can I reuse one stencil?
50+ applications if rinsed gently and stored flat. Discard only when edges fray or lose tack.