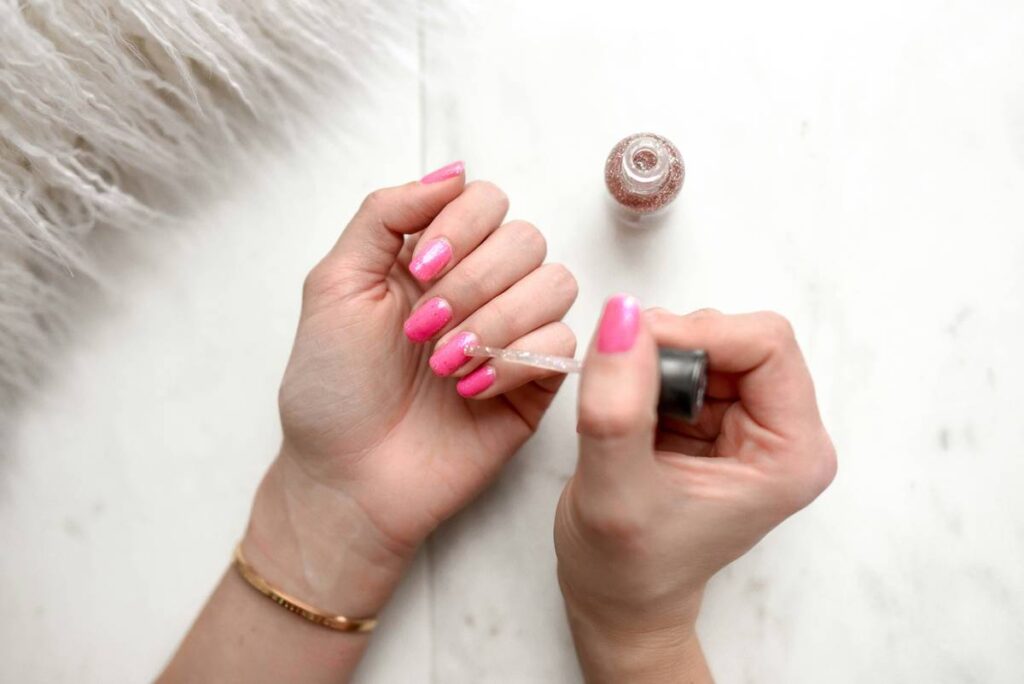
You spent hours painting your nails—only to end up with smudges, uneven lines, and polish on your cuticles. Again. The frustration is real. But what if you could achieve salon-level colorful nail creations at home, in under 30 minutes, with zero artistic training? It’s possible—with the right system.
Why Freehand Painting Fails (Even for Pros)
Most DIY manicurists overestimate control and underestimate drying time. Gel slips. Acrylic bleeds. Even steady hands tremble when holding a brush at wrist-height for 45 seconds straight. And blending? Forget it—without proper layering, colors turn muddy, not magical.
The truth? Precision isn’t about talent. It’s about tools. And traditional methods skip the one thing that guarantees crisp edges and bold hues: structure.
How to Build Flawless Colorful Nail Creations Step by Step
Here’s the streamlined workflow I’ve used in my studio for years—and now adapted for home artists using nail templates. No guesswork. No cleanup disasters.
Step 1: Prep Like a Pro
Buff lightly. Dehydrate with 99% isopropyl alcohol. Skip the oil—they sabotage adhesion. Your base must be matte, dry, and debris-free. This isn’t optional—it’s the foundation.
Step 2: Choose Your Template Strategically
Not all nail stencils are equal. Flexible silicone grips better than paper. Reusable vinyl handles gradients better than rigid plastic. Match material to technique:
| Template Type | Best For | Cost per Use | Durability |
|---|---|---|---|
| Silicone Stencil Sheets | Geometric lines, sharp color blocks | $0.10 | 50+ uses |
| Disposable Paper Masks | One-time ombré or watercolor effects | $0.30 | 1 use |
| Reusable Vinyl Templates | Layered designs, metallic foiling | $0.08 | 100+ uses |
Step 3: Apply in Reverse Order
Paint the background last. Start with accent colors using your template—press firmly, apply thin polish layers, lift slowly. Let dry 60 seconds before removing the stencil. Then flood the rest of the nail. Counterintuitive? Yes. Effective? Absolutely.
The Industry Secret: Negative Space Is Your Secret Weapon
Here’s what salons won’t tell you: the most eye-catching colorful nail creations often rely on what’s *not* painted—not what is. Strategic negative space tricks the eye into seeing complexity where there’s simplicity. Try this: place a tiny circular template near the cuticle, paint around it in cobalt blue, then fill the circle with chrome. Instant dimension. Zero blending needed.
And—this part’s critical—always seal with a thick, non-yellowing top coat. Thin coats pool in stencil grooves and blur edges. One generous layer locks everything in place.
Frequently Asked Questions
Can I reuse nail templates after using gel polish?
Yes—if cleaned immediately with acetone-free remover. Gel cures under UV, but uncured residue sticks to silicone. Wipe fast, and your template lasts months.
Do colorful nail creations chip faster?
Not if you cap the free edge. Most chips start at the tip. After your final color layer, run polish horizontally across the nail end before top coat.
What’s the best base for neon or pastel polishes?
White. Always. These pigments are sheer. A white base gives them opacity and vibrancy without 3 coats of product.