Ever spent 20 minutes painting a single nail—only to smudge the line, bleed outside the edge, or end up with shaky symmetry? You’re not alone. Most DIY nail artists wrestle with freehand limitations, wasting polish and patience. But what if you could achieve salon-grade crispness in seconds? Enter precision nail stencils—the unsung hero of clean, repeatable, professional-looking manicures.
Why Freehand Fails (And Why Even Pros Reach for Stencils)
Freehand nail art looks effortless on Instagram. Reality? It’s brutal. Human hands tremble. Polish bleeds into cuticles. Complex geometric patterns demand spatial math most of us didn’t sign up for. And even steady-handed pros hit fatigue by nail number eight.
Standard stickers peel early. Tape leaves residue. Water decals warp. None offer true edge control. Precision nail stencils solve this—they’re thin, adhesive-backed, laser-cut templates that lock polish exactly where it belongs. No guesswork. No cleanup.
How to Use Precision Nail Stencils Like a Pro
Forget trial-and-error. This is the exact workflow used in high-end nail bars—and it takes under three minutes per nail.
Select the Right Stencil Material
Silicone? Plastic? Mylar? Go with medical-grade Mylar. It’s ultra-thin (0.1mm), reusable, and won’t warp when soaked in acetone. Cheap plastic stencils buckle under pressure—ruining your lines before you even start.
Prep the Nail Surface Properly
Clean, dry, oil-free nails only. Any residue = stencil slippage. Wipe with alcohol, let air-dry. Apply base coat and cure (if using gel). A tacky surface helps the stencil adhere without glue.
Apply, Press, Paint—Fast
Peel the stencil from its backing. Align gently—use tweezers for tiny designs. Press down firmly along edges. Load your brush with minimal polish. Dab, don’t drag. Cure or dry immediately. Peel slowly at a 45-degree angle.
| Method | Time Per Nail | Reusability | Edge Precision |
|---|---|---|---|
| Freehand Painting | 8–15 min | N/A | Low (human error) |
| Tape or Striping Tape | 4–7 min | Single-use | Moderate (lifts at curves) |
| Water Decals | 3–5 min | Single-use | High—but prone to bubbling |
| Precision Nail Stencils | 1.5–3 min | 15+ uses | Very High (laser-cut accuracy) |
Clean & Store for Reuse
Rinse stencils in acetone or soapy water immediately after use. Dry flat between paper towels. Store in a rigid case—never folded. A well-maintained set lasts months, not days.
The Industry Secret: “Stencil Bleed” Isn’t About the Tool—It’s About the Polish
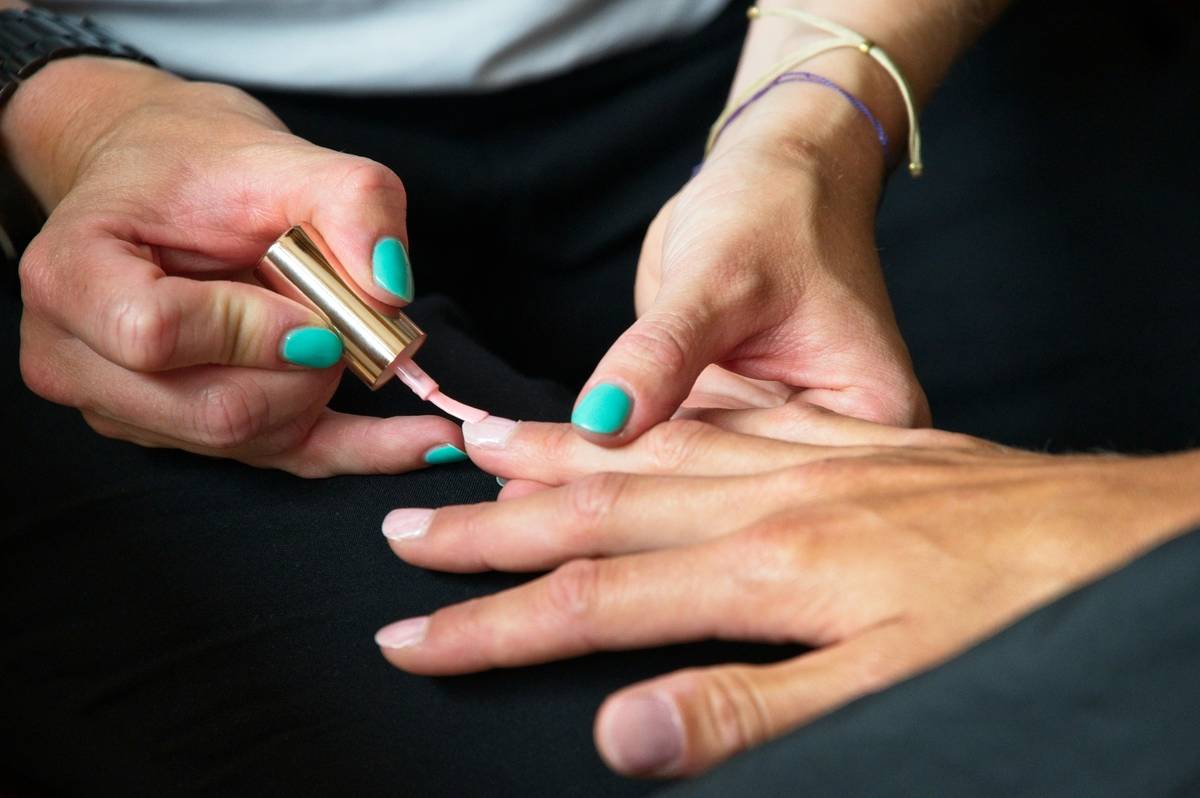
Here’s what no brand tells you: bleed happens because of viscosity—not stencil quality. Thick polishes seep under edges. Thin them slightly with a drop of polish thinner (not remover!). The ideal consistency? Like melted ice cream. Test on a spare nail first. And never flood the brush—tap off excess. That’s why some salons swear by gel paints with stencils: they stay put until cured. But regular polish works fine—if you respect the physics.
Frequently Asked Questions
Can precision nail stencils work on short or bitten nails?
Yes—many micro-design stencils are made for small nail beds. Choose mini chevrons, dots, or half-moon shapes. Avoid large full-nail patterns.
How many times can I reuse precision nail stencils?
With proper cleaning, 15–20 uses. Silicone degrades faster; Mylar lasts longest. Discard if edges curl or adhesive weakens.
Do I need special polish with precision nail stencils?
No—but avoid glitter-heavy or thick cremes. Sheer, fluid formulas yield the cleanest lines. Gel or regular both work if applied correctly.